How-to: Rehydrate Bobbie Jo
Share
Ingredients
- Dehydrated Bobbie Jo starter
- All-purpose flour
- Water (preferably a source without chlorine which can kill the starter)
Tools Needed
- Glass jar with a lid (24 oz./700 ml minimum)
- 1 Tablespoon (Tbsp)
- Spatula
- Rubber band
- Kitchen scale (Optional)
Day 1:
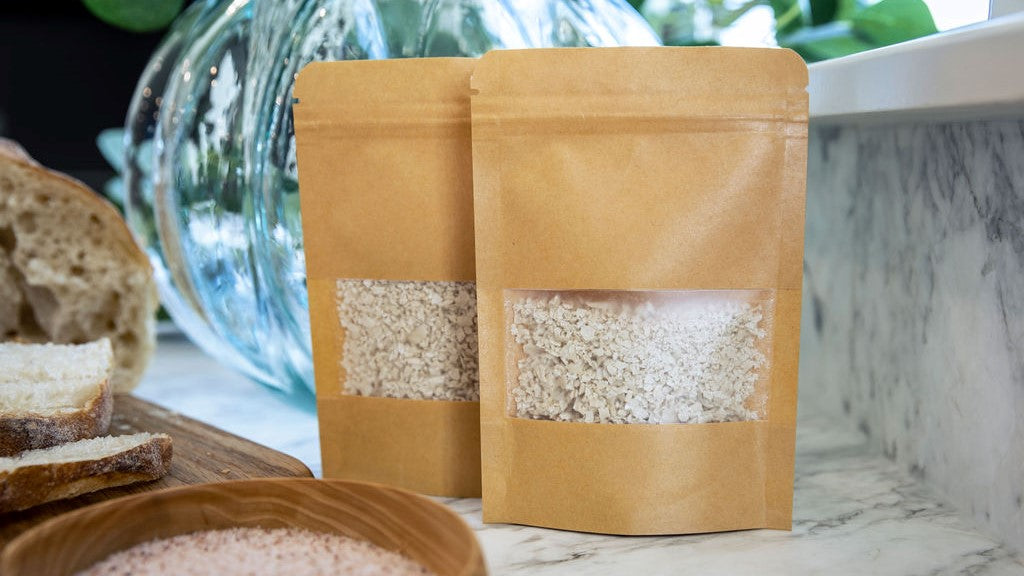
Each packet of Bobbie Jo comes with 20g of starter (approx. 2 Tbsp.). Into a clean jar, measure 1 Tbsp. of starter (10g if you are using a scale). Then add 2 Tbsp. of all-purpose flour and 2 Tbsp. of water. Using a spatula (or spoon), mix until you have a thick pancake batter consistency. A bit of water or flour may be added as necessary. Set the lid loosely on the jar to allow airflow, but prevent contamination. Allow to sit on your counter for about 24 hours.
*Note: Store the remainder of your dehydrated starter in the freezer. We give you extra to allow another shot at it.
Day 2:
By this point, you may notice some action in the jar (a few bubbles is normal). You’ll also begin to smell the fermentation coming back to life! In the same jar, add 2 Tbsp. or water and 2 Tbsp. of all-purpose flour and then mix. You are aiming for a similar consistency as Day 1, or slightly more runny. Add small amounts of water or flour to adjust as necessary. Once you are done mixing, place a rubber band around the jar at the top of your starter mixture (this will help you see how much it has "grown"). Again, loosely place the lid on top and set aside on your counter for another 24 hours.
*Note: It may or may not double in height. It's ok if it doesn't. We want to see the starter start to bubble, which means it is active again. If you do not see any bubbles, repeat the Day 2 feeding and wait another 24 hours.
Day 3:
The next goal is for your starter to double in height as judged by the rubber band. It’s ok if it’s not exactly double - close is good enough. The temperature of your home and where you sit the jar will determine the rate of activity of your starter. You should now see good activity (bubbles) and smell the aroma of your first loaf of sourdough, otherwise known as fermentation. If this is the case, you are ready to start feeding on Day 3. In a new jar, feed your starter using a 1:5:5 ratio. This looks like: 20g of starter, 100g of all-purpose flour, and 100g of water. (These exact weights are just an example of a 1:5:5 ratio).
*Note: Warmer kitchen temperatures will allow the starter to activate faster (75°F/24°C). If your kitchen is cooler, then this process may take a little longer for you.
PRO TIP: If your kitchen is too cold, place it under your range light, in a window with direct sunlight, or a warm room in your house to speed up the process.
If you feel like you are struggling or that it’s not coming out quite right, watch the video (coming soon!) or reach out to us with any questions. We would love to help! You got this!

12 comments
Perfect, stick to the one jar. I was reading ahead for tomorrow and was wondering the same thing.
I, too, only received the 1 tablespoon from the Pinners conference. I have rehydrated the starter and I am on day 2. So far it is going well.
Roxanne, at Pinners when I bought the whole set he told me the smaller package bonus for being in the class was only the 1 tbsp, but the package I got for buying the set was the 2 tbsp. If that helps any!
Hi! I thoroughly enjoyed your presentation and talking with you at AZ Pinners this weekend. I started my starter just now and there was only 1 T of starter in the packet. I don’t know if you’ve changed your packets or this one was just short. Thanks.
Hey Tess – you can forego the new jar. We need to update the post as we don’t use it any longer.