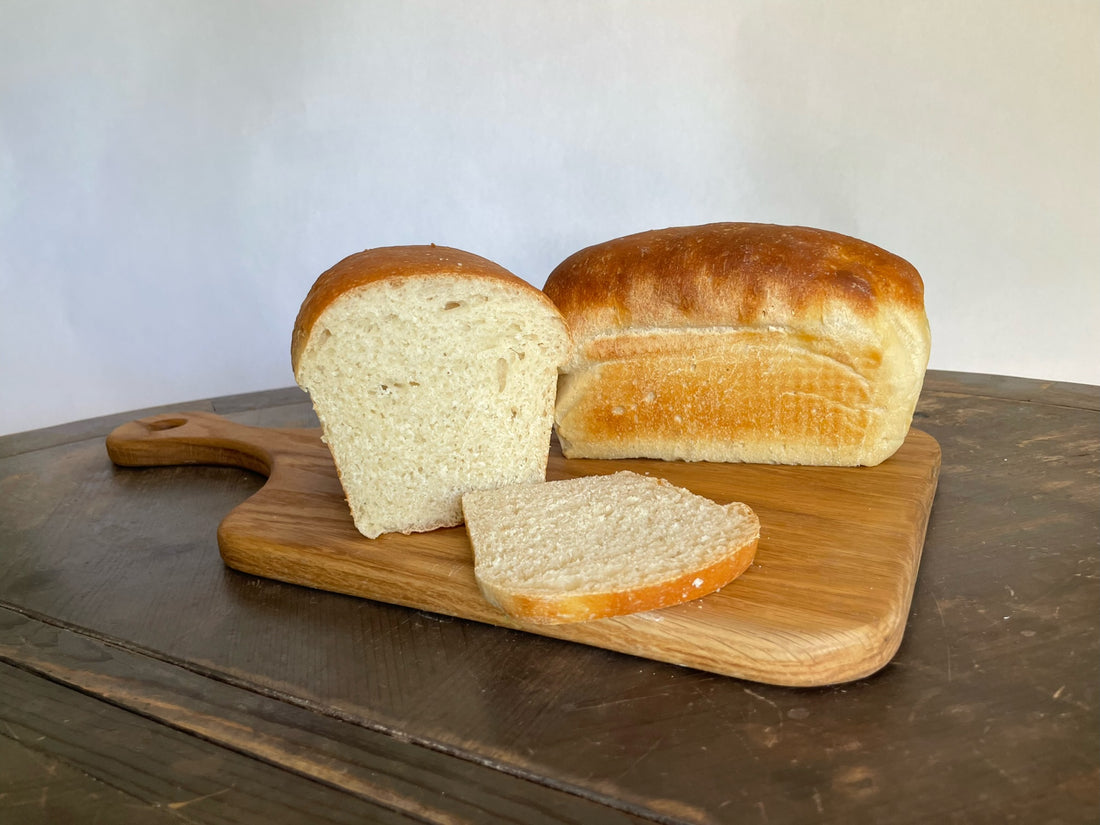
Sourdough Sandwich Bread
Share
This recipe is very approachable and simple to follow! It will yield two medium loaves.
Ingredients
- 200g - Active Sourdough Starter
- 1 ¼ c. - Warm Water (not Hot)
- ⅓ c. - Sweetener of your choice (Honey, Maple Syrup, Sugar)
- Qty 1 - Egg, Beaten
- 2 ½ tbsp. - Fat (Oil or Butter)
- ½ tbsp. - Salt
- 4 - 5 c. - Flour
Tools Needed
- Bread Mixer (Optional) - you can do it by hand if you don’t have a mixer
- Parchment Paper
- Bread Pans
- Kitchen Scale
Directions (Video to come shortly)
STEP 1: Getting Started
In your mixer, combine the following:
- Sourdough starter
- Water
- Sweetener of choice
- Egg (already beaten)
- Butter (or oil)
- Salt
STEP 2: Add Flour and Knead
Begin adding flour while mixing. Adding flour 1 cup at a time lets you gauge your progress. You’ll stop adding flour once the sides of the bowl are clean and the dough starts to clump to one side.
Continue to mix until all of the dry flour is mixed in. The dough should be tacky, but not sticky, and the sides of the bowl should be clean.
Knead dough for 10 minutes.
Cover the bowl and set aside until the dough has approximately doubled in size. This should take 4-6 hours, depending on your home’s temperature.
STEP 3: Form and Bake
Once your dough is ready, form it into loaves. Place loaves in baking pans and let rise for 2-5 hours (depending on temperature).
PRO TIP: Line pans with parchment paper to prevent it from sticking
Bake at 400F/205C for 22-30 minutes until internal temp is 180F/82C.
Remove the pans from the oven.
Remove the bread from the pans and place on a cooling rack. Coat the crust with butter. Allow bread to cool.
Enjoy! Keep the bread in your fridge (or freezer) if it will not be enjoyed within a week.

8 comments
May I have this recipe in grams? I would like to use whole-grain flour. Since it soaks up more water, grams measurements are important.
CAN I PLEASE HAVE AN UPDATE IN GRAMS PLEASEEEEEEEEE
Hey Lisa! I just emailed you our updated version. We will post shortly to the blog.
I’m hesitant to try this recipe solely due to the ingredients being measured in cups rather than by weight. Please share this recipe with weights given- preferably in grams. Baking recipes don’t always work out when measuring by cups, especially flour, Thanks!
@Cyndi Barr
Sorry of the late response. You should only knead the dough for about 10 minutes at the beginning. Once you’re ready to shape, you’ll roll it out into a long rectangle the width of your bread pan. We currently don’t have class offerings other than pinners, but we will start broading our reach soon!